
Designing Injection Molded Parts that Dont Warp or Sink
When it comes to plastic part design, a lot can go wrong if you're not paying attention to the fundamentals. At Onit MFG, we’ve seen our fair share of parts that warp, sink, or distort after molding—almost always due to design decisions that looked fine on paper but didn’t hold up under heat and pressure.
Here’s a breakdown of the key design rules we live by to help customers avoid costly iterations and get production-ready parts, faster.
1. Uniform Wall Thickness Is Non-Negotiable
Thick walls = slow cooling = more problems.
Plastic doesn’t conduct heat well, which means thicker sections cool unevenly. That’s where you get warpage, sink marks, and internal stresses that weaken your part.
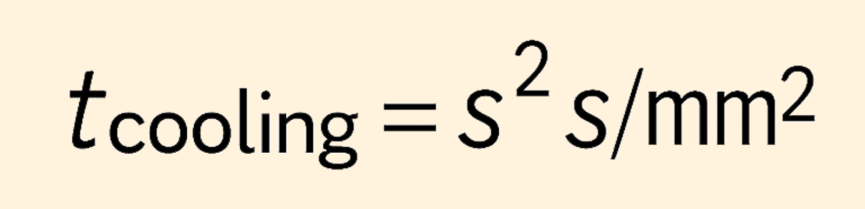
Rule of thumb: Cooling time is proportional to the square of wall thickness. If you double the wall, you quadruple the cooling time. That’s a quick way to kill your cycle time and part consistency.
Onit Tip: Use coring wherever possible to reduce thick areas. You maintain structural integrity and speed up your process.
2. Core It Out
If you’re working with deep bosses or thick lugs, coring those out can be the difference between a clean mold and a nightmare. You don’t always need both surfaces of a part to be defined—so use that to your advantage.
We encourage early design reviews where we can flag areas that could benefit from coring. During our indepth DFM process, you’ll reduce material usage and avoid internal shrink voids that are tough to catch until it’s too late.
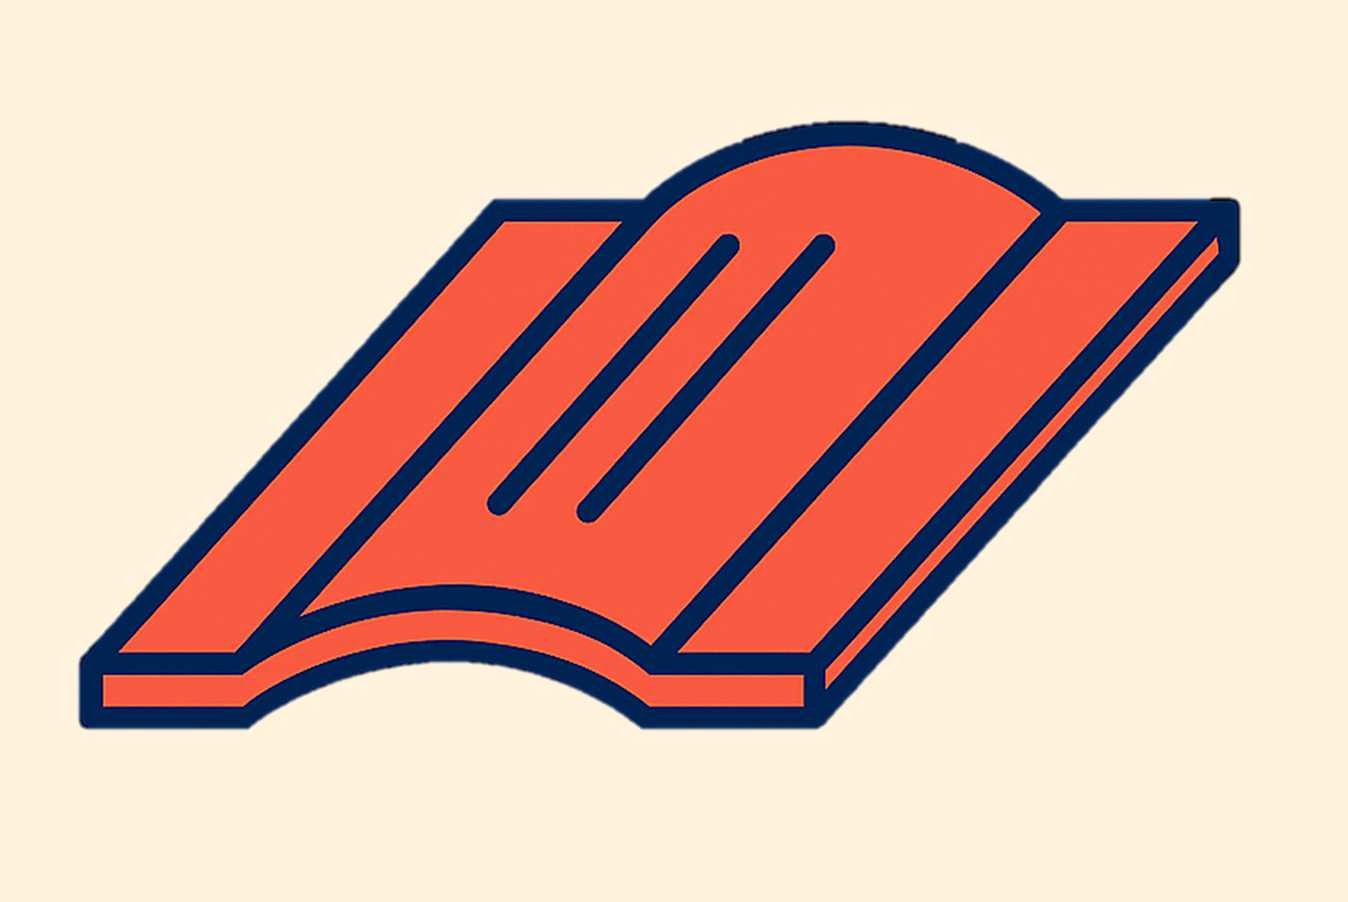
3. Stiffen Smarter, Not Harder
Planar surfaces are notorious for warping—especially on thin parts with low stiffness. Adding ribs, beads, or slight crowns can help stiffen those areas and resist post-mold deformation.
Our go-to stiffening strategies:
- Crowning: Adding a subtle curve to the surface boosts stiffness.
- Beads: These contour features double as stiffeners and branding space.
- Ribs: Great for stiffness—just don’t overdo it or you’ll cause sink on the A-side.
“We reached out to Onit for support on a cost-reduction initiative for one of our overly complex assemblies. The Onit team was instrumental in redesigning several components from metal to plastic, and they even helped consolidate a few part numbers, which streamlined our BOM and ultimately lowered our overall costs."

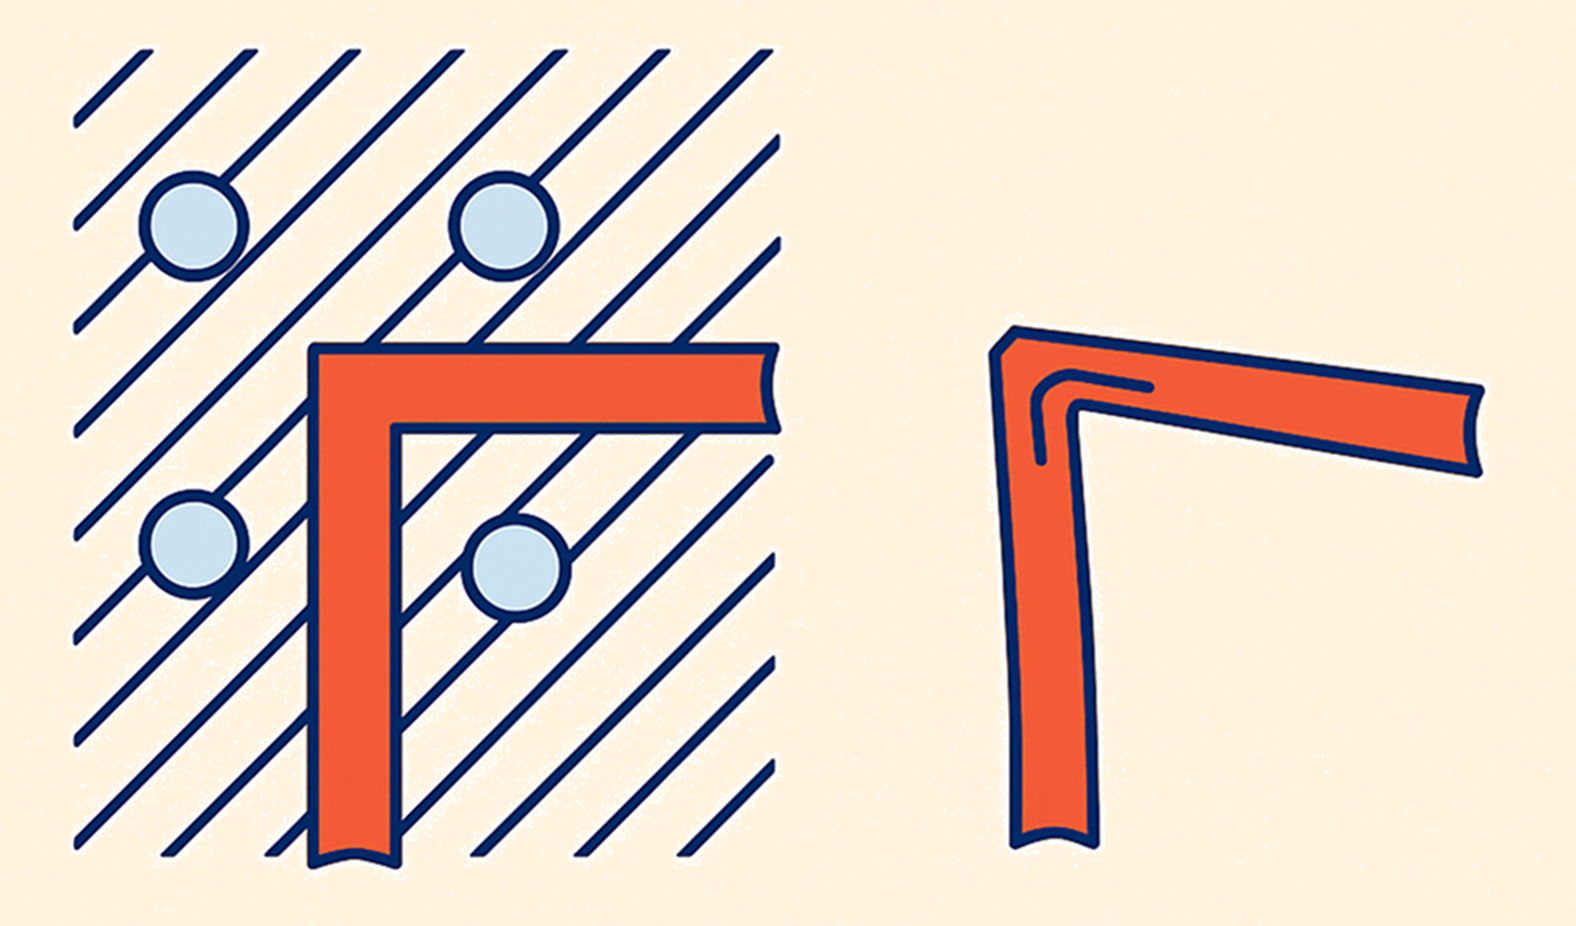
4. Ribs Done Right
Ribs can either fix your part—or wreck it.
To prevent sink marks and warping:
- Keep rib height ≤ 2.5× wall thickness
- Use draft on both sides (1–2° is typical)
- Keep base thickness < 75% of the wall it's connected to
Avoid criss-crossed ribs near thick sections. Those diagonal intersections are cooling dead zones.

5. Understand Shrinkage or Get Bit Later
Shrinkage happens—it’s a fact of molding. But you can manage it if you know where to look. Areas near thick walls, sharp corners, and between mold cores are especially prone to internal voids or deformation.
We see two main shrink-related issues:
- Edge collapse: The part shrinks around a solid edge and bows out.
- Corner collapse: Inside walls cave due to poor cooling around thick mold steel.
Onit Tip: If you can’t avoid thicker walls, place them closer to the sprue and cool aggressively. Use holding pressure to reduce local shrink, but remember: pressure doesn’t solve everything.
Designing for moldability isn't about guessing—it’s about being intentional. The sooner we can collaborate with your team, the more we can help refine geometry, cut lead times, and avoid issues like warpage, sink, and shrink.
At Onit MFG, we make parts that work in the real world—and that starts with getting the design right.
Want help reviewing your CAD for manufacturability? Reach out for a free DFM check.
Don’t wait pal, start moving the needle in your business today with our broad-ranging solutions built around your specific business needs.
Get Started.jpg)

